
6 Angular Directives For Beginners To Know
Since this post is directed toward beginners, let me clarify one thing before we go on about the way their names are written. When referring to a directive in a JavaScript file, you should do it in camel case, and when using a referring to one in HTML you should use all lower-case and separate words with dashes.
For example, JavaScript: ngSrc, and HTML: ng-src.
The other thing to know is that Angular comes with a lot of helpful directives baked right in, and we'll be looking at some of them in this post. But there are also lots of 3rd party directives that you can quickly bring in to your own code, sort of like an npm module, and you can also write your own.
Now here's a look at 6 basic, but very important Angular directives.
1. ngModel
This one probably came up for you already in whatever course, book, or blog introduced you to Angular. That's because it is an easy way to demonstrate Angular's two-way data-binding.
The main idea is that whatever property you define using this directive will store the value of that element on the scope using that property.
This can be demonstrated without a JavaScript file at all. Here's a simple example using HTML:
In this example, as you type into the input field, the data is stored as a string in ngModel and printed to the screen.
2. ngRepeat
When you have a list of items that are stored on your scope, you don't always know how many there will be, or it might change over time, so you can't display them using <li> HTML tags like you normally would.
If you throw an ngRepeat tag in a HTML element (like a li), it will automatically create the right number of items to fit your data.
The value of the ngRepeat attribute is similar to the way a for loop is used on objects. To loop through the array stored on the $scope as 'stooges', I tell ngRepeat to loop through each 'name in stooges'. I could say 'person in stooges' or 'stooge in stooges' because the first word is just the name we are going to use as the iterating variable.
Then within the repeated HTML we refer to the current item in the list by the name of our iterating variable, which in this case, is 'name'.
Here's an example of using ngRepeat a <tbody> tag to repeat rows in a table:
This will print the following on the screen:
Curly Moe Larry
If you have objects stored in an array instead of strings, you can access the properties on each object using dot notation. You can see an example of this when you get down to #5.
3. ngShow
This tags are very useful for displaying and removing things on the DOM based on some condition. Point ngHide to a boolean value on the $scope, or a function call or expression that evaluates to a boolean value.
If that value is true, then the element will be shown on the DOM. If it is false, the element will be hidden. (This is different from ngIf, which actually removes and destroys the element and it's scope, instead of simply hiding it.)
Here an example that uses ngShow to implement a help button. If users had trouble with the answer to this math problem. They could click the 'Help!' button and a bit of text would appear below with a hint.
If you had a button that changed the value of $scope.helpMessage back to false, then the help message would be hidden again.
You can also use the directive ngHide if you want to show/hide elements using the opposite boolean values.
4. ngSubmit
ngSubmit is pretty simple, but also pretty handy. Normally submitting an HTML form triggers a POST request with the input data. ngSubmit prevents that default action and instead calls a function to do whatever you want with the input data.
If I typed in 'koala' in the input field there and clicked submit, an alert would pop up saying 'Your favorite animal is a koala' and no POST request would be triggered.
If you want this kind of power when someone click a button that doesn't involve a form, use the ngClick directive instead.
5. ngClass
ngClass allows you to use an expression to determine what class (or classes) will be assigned to an element. We're going to look at how to use an expression that returns a string to provide a class. You can use this directive to assign class using arrays and objects (see the documentation here). We're going to keep it simple for now, though.
Say I want to display the names of puppies and kittens in a list. I don't want to label them as puppy or kitten though, I just want the names of puppies to be in blue and the names of kittens to be in red.
To do this, I'll create two classes in my stylesheet, puppy and kitten, and use ngClass to automatically assign the right class to each list item.
Notice that this example also uses ngRepeat, which we went over earlier.
6. ngSrc
This directive is used a lot like ngClass is, but it sets the src attribute for an image instead of setting a class attribute.
So if you wanted to include an image of each puppy and kitten in our previous example, you could add an ngSrc attribute like this:
Here's what that code will look like:
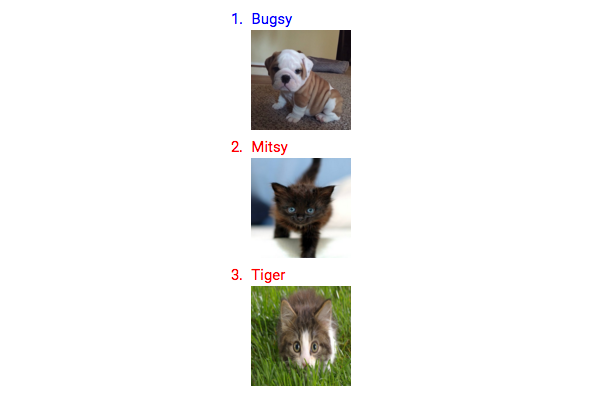
How rewarding/cute is that!